|
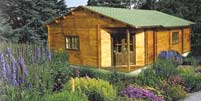
Steps to build your dream garden house .
Step 1:
Read all the instructions once to get orientated to the task in
hand, then read them again and imagine the finished building, this
is fun. Make sure you understand what you are going to do, if not
we are just on the end of a phone line ready to help.

Step 2:
Prepare the ground. Try to locate the building in your garden on
as flat a ground area as you can possibly find. If it is already
level this is then great.
If the ground is not level do as much preparation to make it a level
as possible this will reduce the number of batons to be used or
the amount of concrete needed to be poured.
Step 3:
If the garden house is over 3 meters by 3 meters we suggest that
you lay down a 100mm concrete base over 5 meters by 5 meters you
should start to increase this to 150mm and so on.
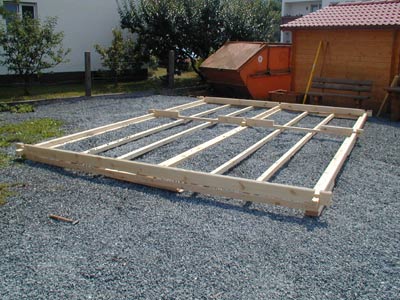
Step 4:
On the levelled area be it concrete or wooden batons lay out your
first course of wall structures interlocking each corner course
and placing the door spaces as appropriate. This will give you a
good visual idea of the building. Once the first course has been
checked that it is very level (use a 4ft level) then start with
the second row by first running a 5mm bead of silicon on the top
inside edge of the first row. Repeat the silicon bead on each and
every row.
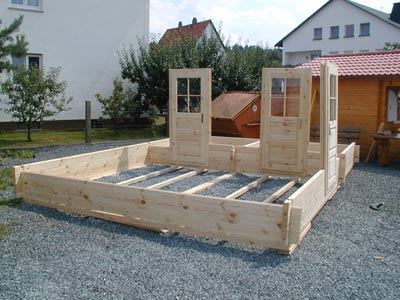
Step 5:
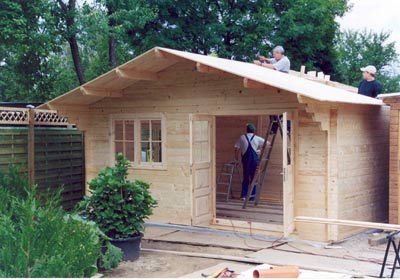
When you get to row 5 you should place any doors into the shell.
As you build up it will become apparent where the window openings
will be so just keep building the rows upwards row by row until
you reach the changing shape of members that will form the roof.
The sloped sections for the roof will have notches to allow purlins
to be dropped in. Simple isn’t it?
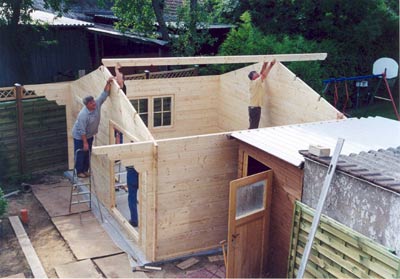
Step 6:
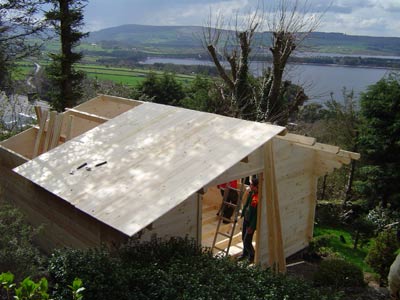
Once the roof purlins are in place start with the wooden roof cover
which will look great from the inside, this will be in tongue and
groove and is quite easy to put up although help from another person
to secure ladders etc. will be a must here.
Once that is on then a top covering of your choice from a local
builders merchant is all that is required. From felt to corrugated
steel its down to you.
Step 7:
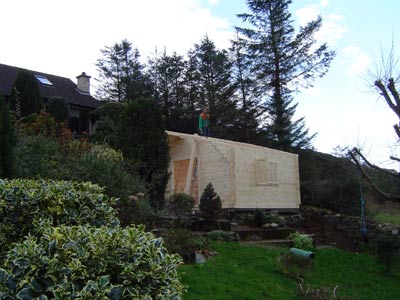
We are nearly done now, just the finish on the outside of the building
to protect it against the weather. This is you personal choice as
to what stain colour you would like to use but make sure you use
a reputable brand with a guarantee on it. We will advise you which
ones are our preference if you give us a call.
Step 8:
Move in and furnish to your taste and enjoy!
|


